
The yarn is lofty. Using it in fairisle will produce a double-thickness fabric, which should be very warm, but also light.
 To test my theory I knitted two garments. To keep it simple I decided to use a simple shawl pattern. Just start with a few stitches, increase across the width of the bed, and then put stitches in hold to decrease, Take the stitches out of hold one row at a time, then decrease back down to the few stitches. I had knitted a similar shawl before in undyed wool, in stockinette.
  I wanted the color play, which mean I needed fairly wide spots of solid color. But I also wanted short floats. So I picked a "fake cable" card from my stash which alternated 1x1 sections with the cable design, and punched a second card card to match it. I started with the #1 card (1x1) then switched to the cable as the shawl got wider.
 Since my new shawl is a fairisle, the stitch gauge is different. The stitches are taller and skinnier, as fairisle usually is compared to stockinette. As I knitted, adding a twisted and knotted fringe, I noticed that it was taking a long time for the garment to get wide, and a short time for it to get long. I knew I would be unsuccessful to unravel all the twisted fringe, so I would need to complete the garment according an improvisation.. After I got to the point where I had put all the stiches in hold, I could tell I was not going to have enough yarn in the two cakes to complete the shawl according to the original pattern. I decided to stop, and add a border of crochet stitches on the right side of the fabric. I did a crochet cast-on between the needles and the bed. Being a firmer stitch pattern than the fairisle, the crochet stitches gathered in the edge and made it into a graceful curve! You can see how I have to loop the long end around twice, but I think the color changes are very successful. This color was the Calming Desert colorway.


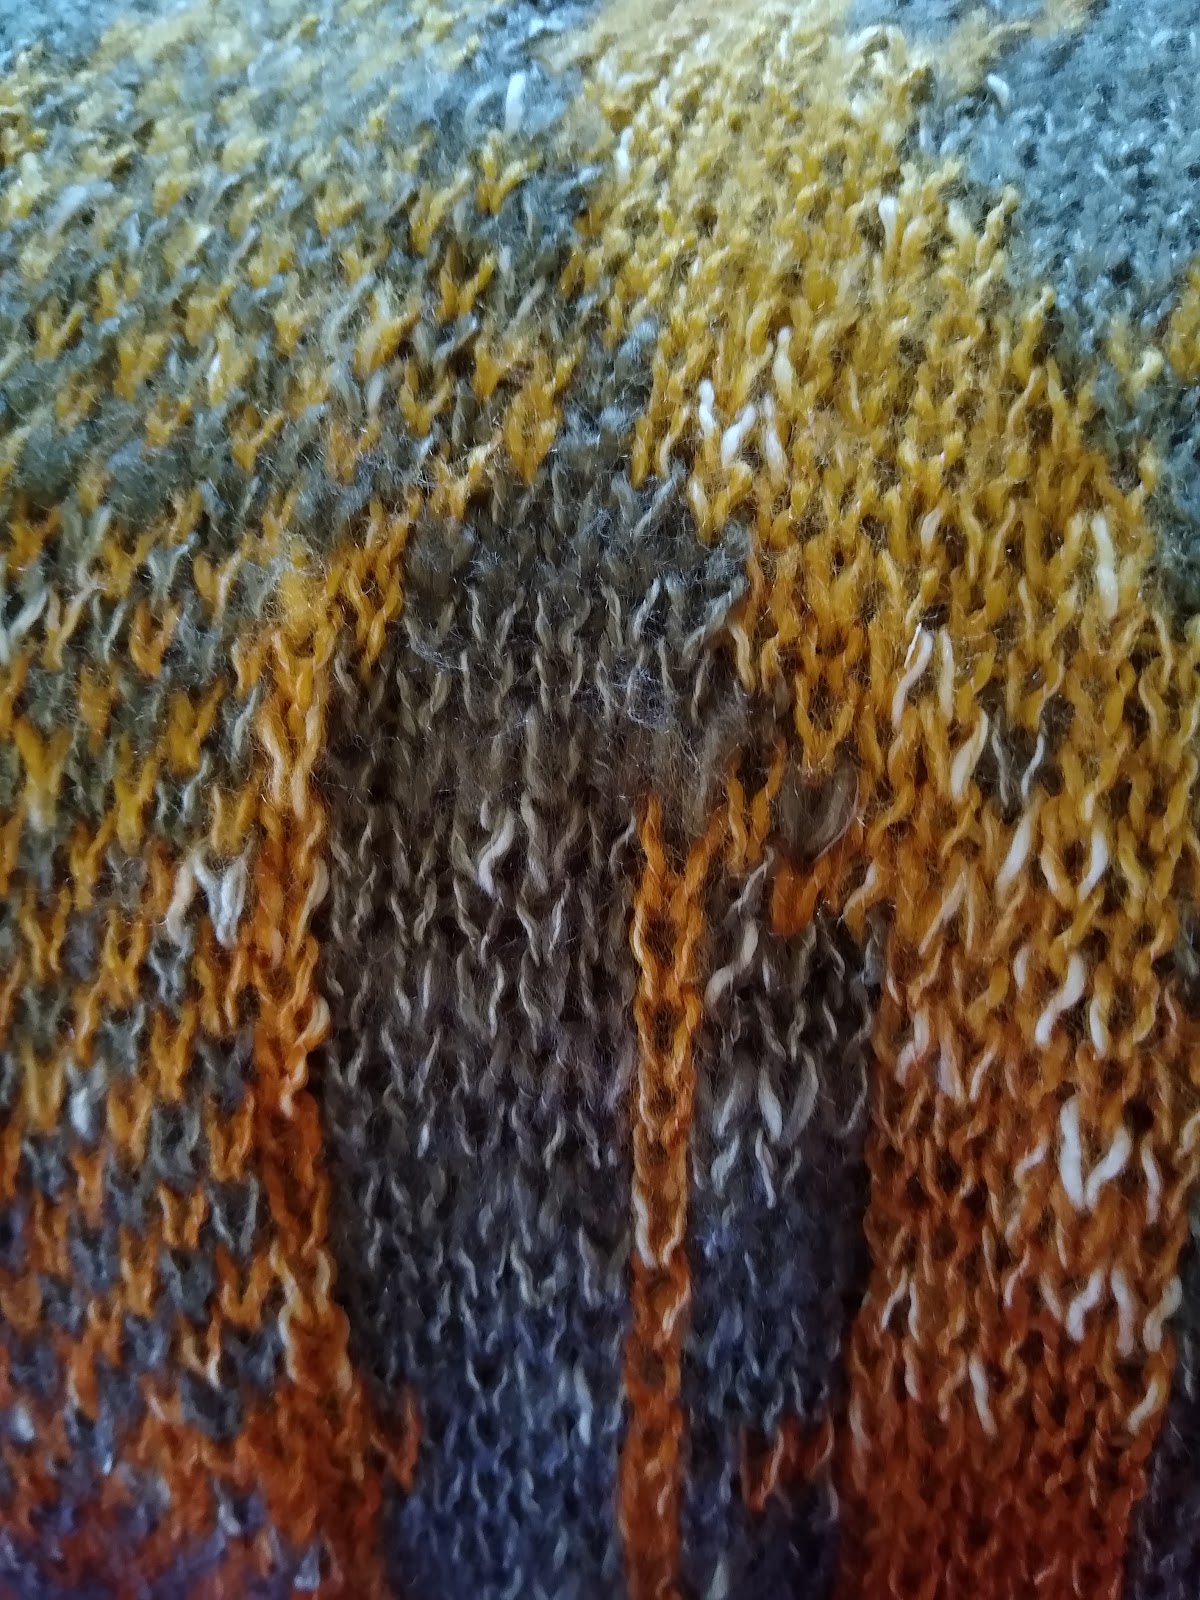
For my second attempt, I used two cakes of "Sun Salutations" colorway. I increased two stitches on every other row, instead of one, to make the shawl more squarish than longish. I also decided to dispense with the knotted, twisted fringe in favor of an edging that I added after the basic shawl was completed. The two balls had opposing colors for most of the shawl, but serendipitously, the same color met at approximately the center of the shawl.


