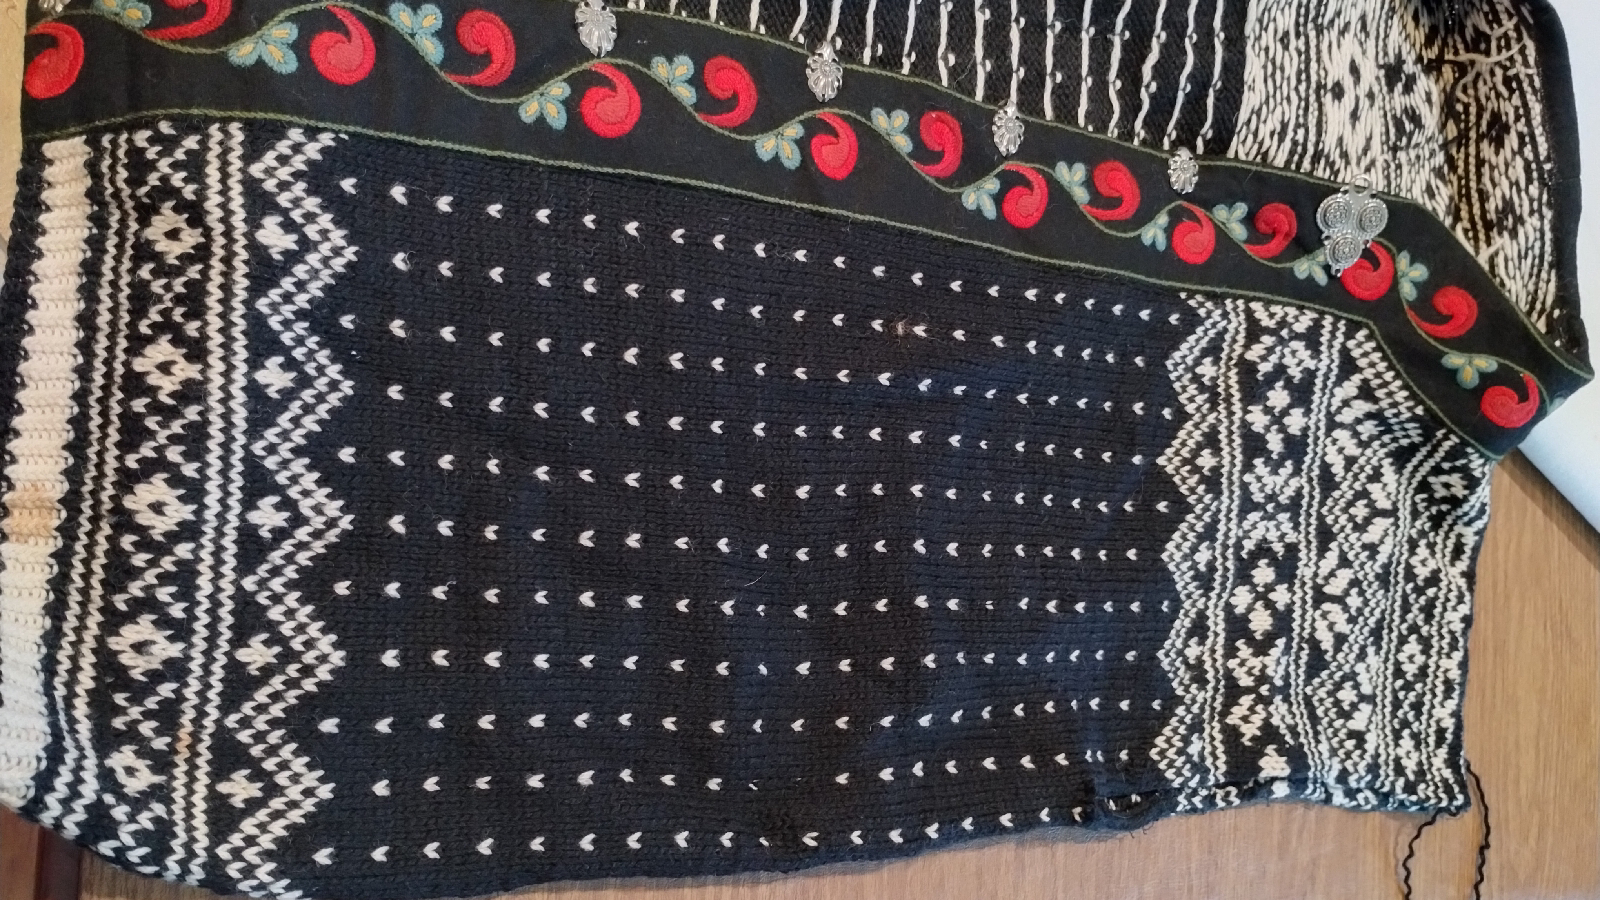
But much worse was that the sleeves were about six inches too long. I think that maybe it was originally a man's sweater. There are no labels, so I can't really be sure. The sweater has drop shoulder construction. This means the sleeves are not "set-in", the sides of the sweater body are straight, and the shoulder line continues down the top half of the wearer's arm.
With the added length of the extended shoulder line, the sleeves were long enough that my hands were way up inside the sleeves! The wrists have embroidered wool bands sewn on, so shortening them at the wrist would entail a lot of work, besides the fact that since sleeves narrow at the wrist, shortening them there would result in wide, floppy sleeves.
I decided the easiest way to shorten them would be to remove about four inches at the tops of the sleeves.
I didn't think about making a blog post on this until today, so I don't have "before" photos. So here is a midway comparison of the two sleeves.
Yesterday I took the sweater to my guild meeting for moral support and cut the threads (yes! Sewing thread!) that attached the sweater body to the sleeves. Once that was done, I could see that the sleeves were bound off at the top, with five rows of black yarn after the end of the fairisle pattern.
I saw that the sweater had been knitted in the round and then cut for the sleeve opening. I didn't see any steeking, which I would have expected for a cut edges on a sweater. The bound-off sleeve was basted with yarn to the cut edges about four stitches away from the edge, and then the sewing machine with thread was used to secure attach the sleeves.
I accidentally cut into some of the yarn under the sleeve with my seam ripper, so when I attach the sleeve I will need to reinforce this area.
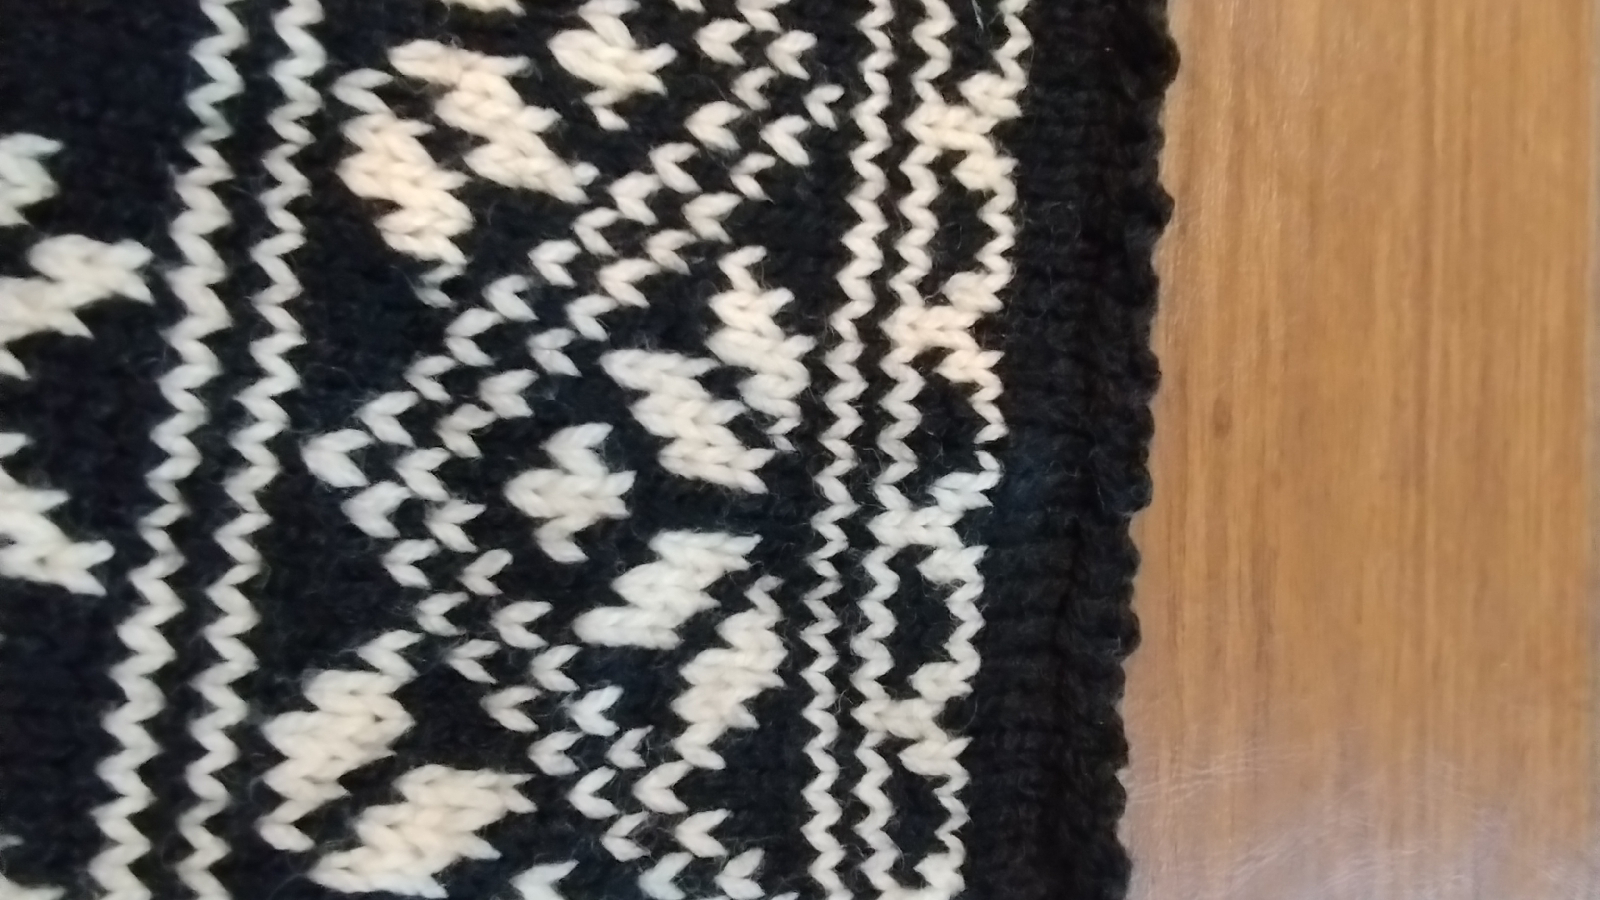
I started unraving the left sleeve from the top, first undoing the bound-off edge and then unravelling row by row. First the black yarn, then the white yarn. I had decided to unravel the sleeve down to the last row of snowflakes, stopping at a solid row. I planned to re-knit a solid black border to use for sewing in the seam, as was done originally. I brought two different-sized circular needles upstairs, thinking to try to match the original stitch gauge. When I got to a few rows away from the point where I wanted to stop unravelling, I inserted the tip of the smaller needle circular needle into the right leg of each knitted stitch of the all-black row between the two all-white rows. I used the smaller of the two needles because they slipped into the stitches easier. Once I captured all the stitches securely, I was then able to unravel the last few rows without fear of dropping stitches. It turned out that the kinks in the yarn from being knitted previously did most of the work to match the gauge almost exactly.
Stay tuned until I finish this project for the final reveal!


