
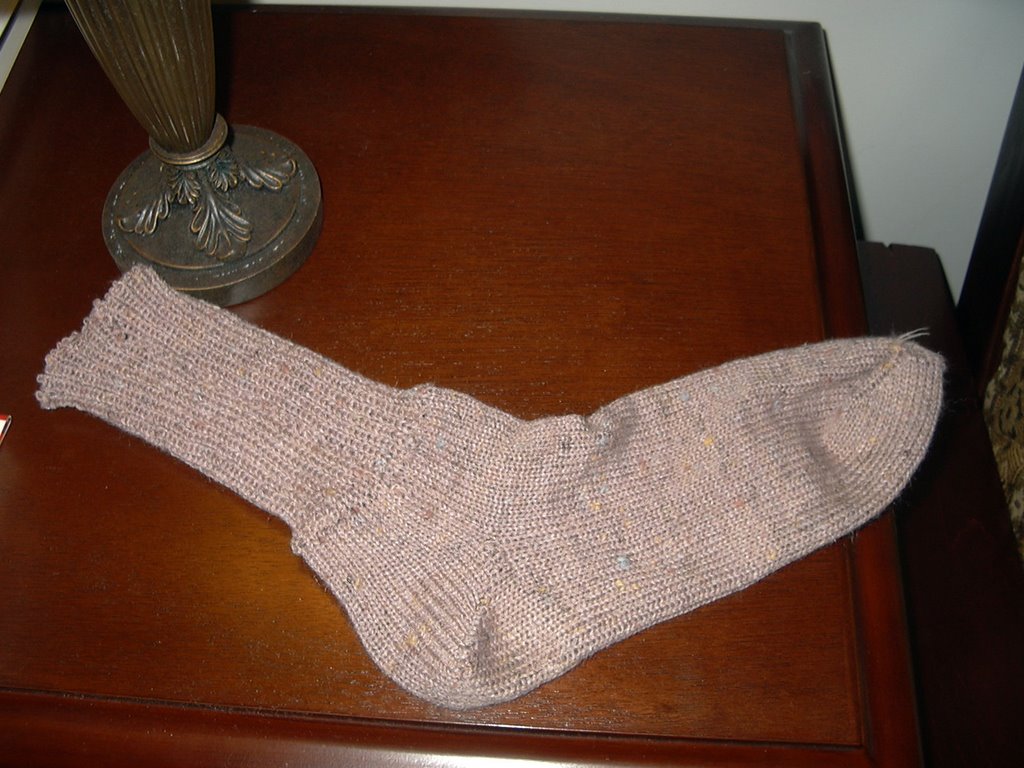
Well I have a sock that I am almost happy with. The process was - Machine: Brother 970 with ribber. Yarn: an old nubby acrylic (2/24?) hanging around in my stash. Two strands. Ribbing: Make a flat piece of 1x1 rib, 60 stitches wide, tension 4 on upper and lower beds, 600 or more rows. Clip a thread at the side about six inches from the end and carefully unravel one row. Hang the end that is tending to unravel (magically, it doesn't unravel backwards) back on the machine by folding in half and hanging half the stitches on the front and half on the back bed. I found it was easiest to hang the back bed first with the 1-prong tool then hang the front using the double-ended transfer tool, working right to left on the back bed and then left to right on the front. Place a heavy weight or the triangle piece with the ribber weight, making sure the teeth catch both front and back of the ribbing.
Ankle: Set the machine for tubular knitting. (Left part button on main bed, right part button on ribber) Tension 6 on both beds. Knit 40 rows.
Create heel: Drop the ribber one or two notches to allow room to work. Turn off the part button on the main carriage. Set main carriage for Hold. Using the main carriage only, bring one needle to hold position on same side as the carriage. Use left hand to pull down on center of knitting. Repeat for next 19 rows. Ten stiches will be on hold on each side, and ten stiches will remain in center of knitting. On next row, put one stitch back into working position (nearest the carriage) and repeat for next 19 rows until all stitches are back in working position. During this whole process you need to watch to see if any stitches have not been knit. If so, knit them through manually. You have created a heel! Hang a weight in the center.
Foot: Knit 130-150 rows, depending on the length of your foot (I used 150 for this one, the sock is maybe 1/2 inch too long for me...)
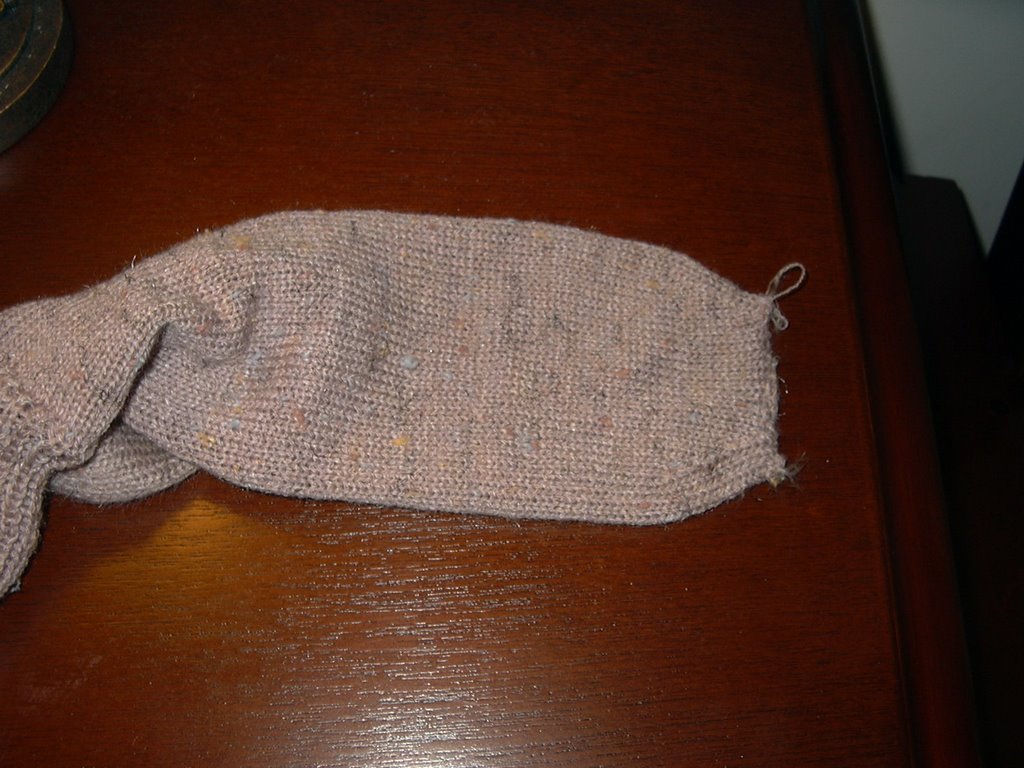
Toe: *Decrease 1 stitch at each corner. I did this by moving the third stitch in to share with its neighbor, then moving the two outside stitches over onto the empty needed. Knit 4 rows.* Repeat from * 6 times. Take off on waste yarn. Graft remaining stitches. (You can see from the picture that my grafting technique has not been perfected....) 
Finishing: Sew side seam of ribbing. Weave in ends and trim.
So, what am I not happy with? Well, I dropped a number of stitches when hanging the ribbing. I had to latch hook up the ladders and then tack down the stitch at the top to its neighbors. So if you look inside the sock there are little ends sticking out. Also I REALLY need to fix my grafting. And I hate the look of the toe. It just ends!
I think next toe I am going to try this: After taking off on wast yarn, hang two stitches from right front and two stitches from right back on main bed. Knit one row. Catch 1 loose stitch from front and 1 from back, knit 1 row. Repeat until you reach the end of the loose stitches. Graft 4 stitches to the stitches from the left side of the foot.... This should give a more rounded look, plus have less chance of irritating the toe inside a boot.
No comments:
Post a Comment