. brightmeadowknits

Wednesday, October 7, 2020

Bicycle knits


 I found a reference to this book online and ordered it.


  It arrived while we were away. When we got home I could not wait to see all the bicycle motifs inside.   Alas, the one on the cover is the only two-color motif in the booklet. It is a 39-stitch repeat for a top-down yoke, with increases, there are 8 plain stitches between the base of the panel and four stitches between the wheels.    Sizes go up to a 41.5-inch bust.  This would not work for me, so to knit it will require complete redesign.

There is a pattern for a yoke sweater where the ribs radiate from the neck, referencing the spokes of a bicycle wheel.  Also included are directions for a crocheted basket and handlebar streamers. A men's Aran-style drop-shoulder sweater emulates tire patterns.  They spell it "tyre" as the booklet was compiled by a knit shop in the UK.  There is a felted messenger bag and a lace shawl, a crocheted slouchy hat, and fingerless mittens with diamond-shaped cables inspired by bike frames.  

I've also found a few charts on Pinterest for bicycles.  One is a 24-stitch repeat, suitable for punchcard machines.

I ended up downloading a pattern from Julie Stone Designs on Ravelry for a bike hat and beanie.  It also shows a headband version with picot edging.  There are currently 37 projects using this pattern in Ravelry.  It's a handknit, and not an even multiple of 24 stitches, but I'll work something out.


Saturday, June 6, 2020

Barcelona Top

Last night I stayed up late to finish the front side of my Barcelona top (pattern from Anne Lavene, purchased on etsy.) 

I had a few interesting experiences while I was working.

1. This is the first time I've knitted with my KH-970 since we moved from Michigan a year ago.  I set it up a few months after we moved, but when I couldn't find the setting plates for the ribber, or the brackets to hold the CB-1 box, I stopped.  As you may know, I've been making masks since mid-March, so I haven't been knitting or even working on setting up my knitting studio.   I knew I had the missing pieces, just could not find them.  Hate to buy things I already have, but I almost was ready to do it.  A few days ago I opened a tote bag expecting to find yarn, but there they were! Yay!    I lightly sprayed the carriage with my last can of machine lube before sitting down to knit.

Now the only thing missing is the power cord.

2.  Not having a power cord to power up the CB-1 box meant I had no row counter.  This pattern is published using Anne's visual method.  Meaning that the graphic shows the needle number of the stitches in work at each change in direction.  All the increases and decreases were every two rows, or every four rows.  I figured I could count to four without a row counter, then use the needle numbers for reference as to how many rows I had knitted and where I was in the pattern.

3. A useful skill, lacking a row counter, is the ability to "read" the wrong side of the knit.  I am easily distractable.  I can count to four, but sometimes I got interrupted between the rows where I increased after two rows, and the ones where I increased every four rows.  Being able to see the last increase on each side allowed me to recover my place.

4. One of the interruptions was a bent latch.  I notice that I dropped a stitch. I fixed the stitch.  Then I noticed that 17 rows further down, this same needle had "tucked" instead of knitting the stitch.  This pattern is stockinette.  The yarn is a shiny mercerized cotton. If I let it go, it would be very noticeable flaw in the stitching.   So I laddered down, and latched it up from the reverse side.  Unfortunately when I got to the top I realized I had missed a strand at row 16.   So I repeated the process.  And then I repeated it again when I realized I missed two strands at row 15.  It actually took me four times of dropping and latching up, to fix this one stitch.  Anyone who thinks machine knitting is "cheating" has never machine-knitted.  The latch was only slightly bent, and I was able to bend it back in place with just a little pressure, and had no further problems with it. 

5. I am using a no-name cotton yarn from my stash.  I made three gauge swatches, but none matched the gauge in the pattern.  The first two were made with acrylic yarn but I was way off, so I switched to the cotton.  Especially since this top is something I would wear over a camisole in summer.  I was close at T8, so I decided to chance it and go with T9 for the garment tension.  That's the recommended tension for two of the suggested yarns in the pattern anyway.  It probably won't fit, will be too small for me, but I want to see how knitting this garment works before I knit it again with a more expensive yarn.  I think I'd like to do it in a lace stitch pattern eventually.   My display mannequin is a lot smaller than my actual self. 

6.  I see on Facebook, in the Machine Knitting group, that my friend from Michigan, Julie Boylan, is also making this top!  She has translated it for the mid-gauge and posted a photo.  Her yarn was a tweed. To get the airiness I am looking for in a summer top, I was thinking of doing it on the bulky with a light yarn.   It will require a great deal of translation.

Monday, May 4, 2020

new etsy shop additions

http://www.etsy.com/shop/brightmeadowknits.

I've added new masks to my etsy shop

I have two styles, one with a knitted cotton tie, made on my knitting machine, and one that has elastic that fit over the ears.  Both styles have an opening for a filter of your choice, and both have a wire over the nose for better fit.

Tie version

Filter pocket

Shaped mask with opened pleats

Tie version, side view

Elastic version (mannequin has no ears so shown with ear-saver band)

Thursday, April 30, 2020

For the present time, I've turned my knitting studio into a mask sewing studio. I am, however, at least knitting the cords from some cotton yarn in my stash. I made a design change from the masks I was sewing earlier with elastic loops for the ears. I've decided to go with ties for two reasons- a.) Elastic is not available b.) Ties are more comfortable. They do take a little longer to make. I'm donating $5 from sale of each mask to Children's Cancer Research Fund, to support my fundraising for the Great Cycle Challenge, which has been rescheduled to September. I plan to ride from Cincinnati to Cleveland, and also across Michigan, to meet my goal of 500 miles during September.


#mask
#facecovering
#facemask

Http://www.etsy.com/shop/brightmeadowknits

Http://www.greatcyclechallenge.com/riders/brendafish

Tuesday, November 19, 2019

Fairisle Shawl in a Cake

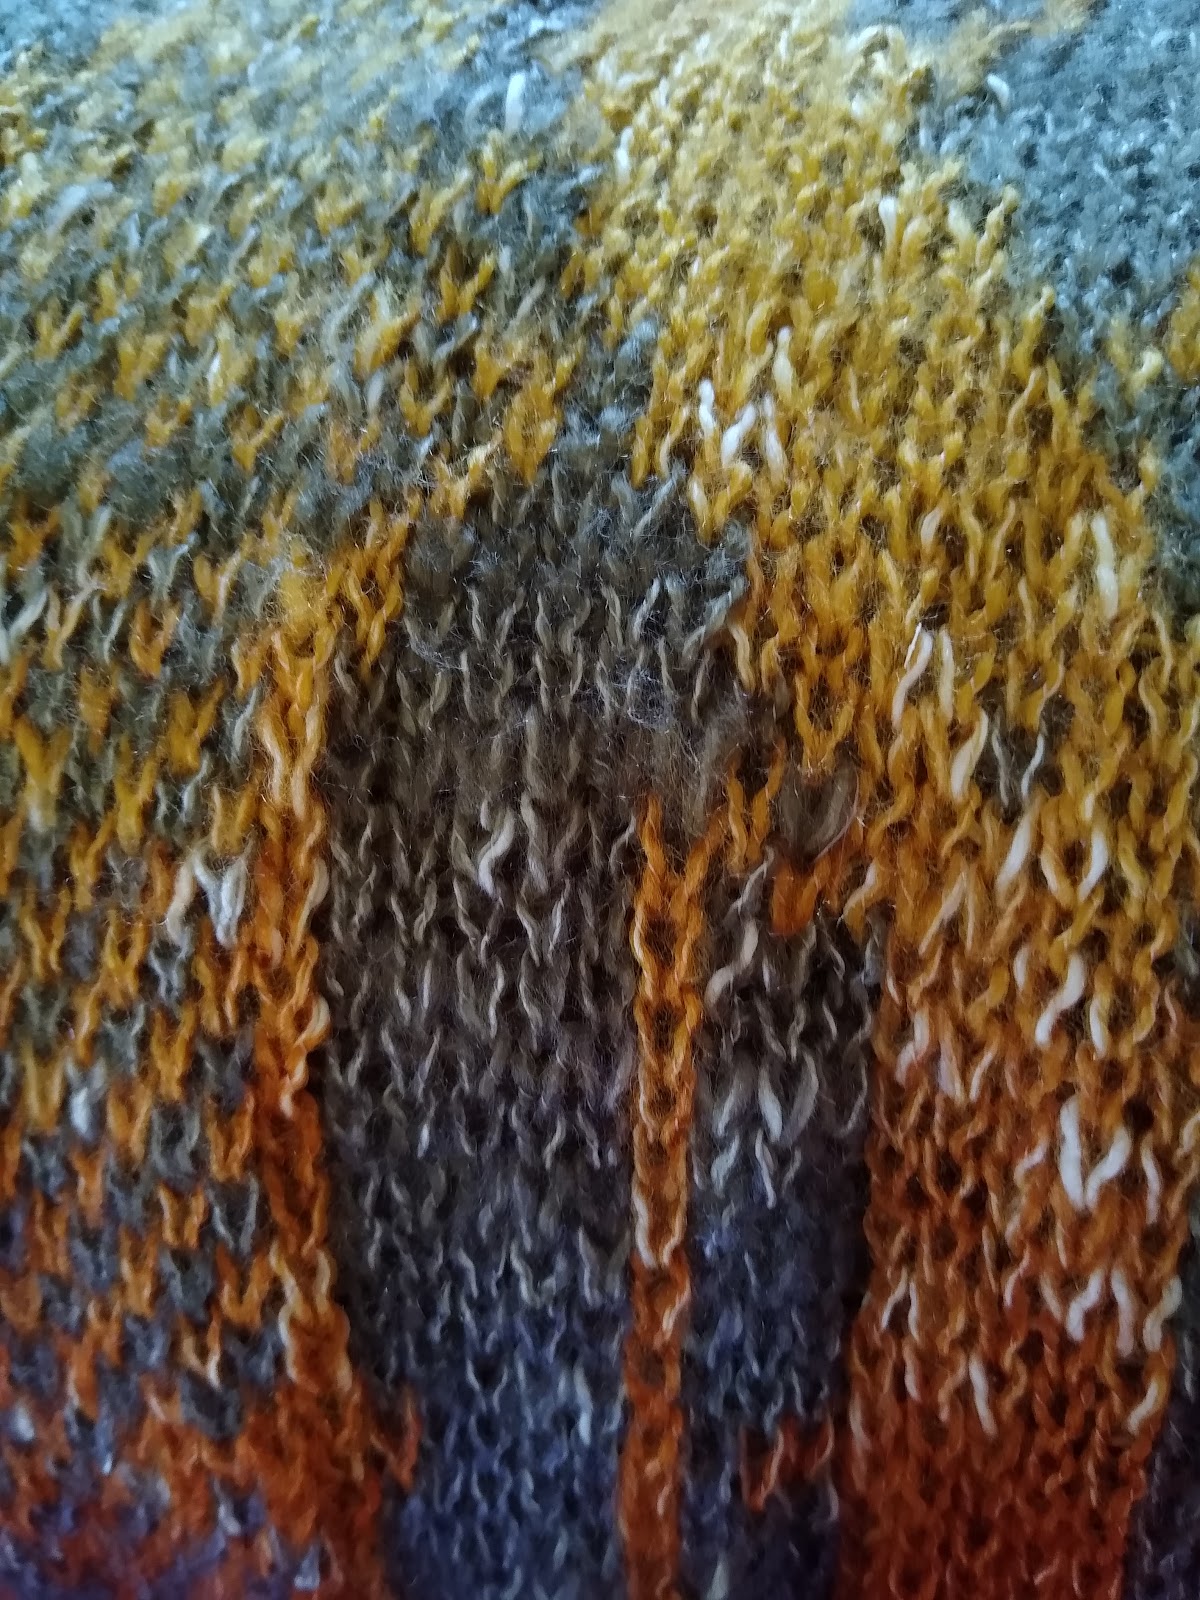
I've been dreaming of knitwear designs.  Lately I have been thinking of using the long color changes of hand-painted yarns in fairisle patterns.  Random color changes should result in unexpected color combinations.  To get started, I knitted some shawls using Lion Brand "Shawl in a Cake" yarn I found on sale at JoAnn Fabrics. 

The yarn is lofty.  Using it in fairisle will produce a double-thickness fabric, which should be very warm, but also light. 

To test my theory I knitted two garments.  To keep it simple I decided to use a simple shawl pattern.  Just start with a few stitches, increase across the width of the bed, and then put stitches in hold to decrease, Take the stitches out of hold one row at a time, then decrease back down to the few stitches. I had knitted a similar shawl before in undyed wool, in stockinette. 

I wanted the color play, which mean I needed fairly wide spots of solid color.  But I also wanted short floats.  So I picked a "fake cable" card from my stash which alternated 1x1 sections with the cable design,  and  punched a second card card to match it.  I started with the #1 card (1x1) then switched to the cable as the shawl got wider.
Since my new shawl is a fairisle, the stitch gauge is different.  The stitches are taller and skinnier, as fairisle usually is compared to stockinette.  As I knitted, adding a twisted and knotted fringe,  I noticed that it was taking a long time for the garment to get wide, and a short time for it to get long.  I knew I would be unsuccessful to unravel all the twisted fringe, so I would need to complete the garment according an improvisation.. After I got to the point where I had put all the stiches in hold, I could tell I was not going to have enough yarn in the two cakes to complete the shawl according to the original pattern.   I decided to stop, and add a border of crochet stitches on the right side of the fabric. I did a crochet cast-on between the needles and the bed.  Being a firmer stitch pattern than the fairisle, the crochet stitches gathered in the edge and made it into a graceful curve! You can see how I have to loop the long end around twice, but I think the color changes are very successful.  This color was the Calming Desert colorway.


For my second attempt, I used two cakes of "Sun Salutations" colorway. I increased two stitches on every other row, instead of one, to make the shawl more squarish than longish.  I also decided to dispense with the knotted, twisted fringe in favor of an edging that I added after the basic shawl was completed.  The two balls had opposing colors for most of the shawl, but serendipitously, the same color met at approximately the center of the shawl. 


Monday, March 25, 2019

New hat pattern available in Ravelry

I have finally published my first pattern in Ravelry!  It is the hat pattern I used for the beginning machine knitting class I recently taught at Crafty Lady Trio on Hall Road in Macomb, Michigan. 
Paton's Classic Wool (red), Generic Acrylic (white), Plymouth Encore Worsted (Mushroom)


Plymouth Encore Worsted
Generic Acrylic Yarn
I made a change to the pattern after I developed it for the class. The change clarified how to ensure that the crown of the hat will be knitted as desired;  in reverse stockinette, as shown in the photo with the mushroom-y tan color that I knitted using Plymouth Encore Worsted Colorspun, or in stockinette, as shown in the white hat knitted with a generic acrylic worsted.  The trick is the direction of the last row knitted before hanging the lining on the same needles with the outer fabric and knitting them together, before starting the crown, and the direction of the subsequent bindoff.  Paying attention to the direction of the carriage means that you do not have to cut the yarn to proceed to the knitting of the crown. 

The hat is knitted on a bulky 9.0 mm machine, (I used a Brother KH-260) using a worsted-weight yarn.  It is double-thickness around the body of the hat, over the ears, and very warm.  It does not require any automated patterning.  I originally designed that hat using multiple cables around the head, but needed to reduce the number of cables, because I wanted the students in the class to be able to complete the manual patterning during the time allotted for class.  If you like, it would be an easy matter to increase the number of cables by spacing them in between the ones listed in the pattern.  Make it your own!

My next step:  Update this blog to allow links to Ravelry for purchase.  Coming soon!  For now, just hop on over to Ravelry and look for Brenda Fish Designs in the pattern section.
© Bright Meadow Knits Blog · Privacy Policy · Terms of Use
© Bright Meadow Bicycle Blog · Privacy Policy · Terms of Use